

In the vast digital landscape, speed is king, and every second counts. Imagine your website loading slower than a tortoise on a leisurely stroll. Not ideal, right? Enter the WordPress CDN, your trusty sidekick in the battle against sluggish load times. This powerful tool ensures your site delivers content faster than a caffeine-fueled squirrel, no matter where your visitors are. A Content Delivery Network (CDN) takes your website’s static files and distributes them across a global network of servers. That means when someone clicks on your site, they get served content from the closest server, reducing latency and improving user experience. With a WordPress CDN, you’ll not only keep your visitors happy but also boost your SEO rankings. Who wouldn’t want a speedier site and a happier audience? Let’s dive into how a CDN can transform your WordPress experience.
WordPress CDN
A WordPress Content Delivery Network (CDN) optimizes website performance by distributing static assets like images, CSS files, and JavaScript across multiple servers worldwide. This system allows data to transfer from the closest server to the user, significantly decreasing loading time. Speed enhancements benefit user experience directly, leading to higher satisfaction rates. WordPress CDN providers operate an extensive network of servers dedicated to caching content. As a result, they help websites handle larger volumes of traffic without compromising performance. Scalability ensures websites remain accessible even during traffic spikes, such as product launches or sales events. Search engines prioritize speed as an essential ranking factor. Faster websites, therefore, often see improved SEO rankings. Integrating a CDN with WordPress can positively impact visibility in search engine results, driving more organic traffic. Selecting a WordPress CDN comes with various choices, each offering unique features and pricing structures. Popular options like Cloudflare and StackPath provide robust performance and reliability. These services often include additional security features such as DDoS protection and an SSL certificate. For installation, users can easily integrate a CDN into their WordPress site using plugins or manual configuration. Many providers offer straightforward guides to assist with this process. Optimizing delivery of static files leads to reduced server load, allowing the web host to focus on dynamic content. Enhanced global reach is one of the most significant advantages of utilizing a CDN. Users from different geographical locations experience similar loading speeds, improving accessibility. Performance consistency across various devices also ensures that mobile users receive optimal site functionality.Benefits of Using a WordPress CDN
Improved Website Performance
Increased website performance results from a WordPress CDN’s ability to cache static assets. Users access these files from the nearest server, reducing latency and speeding up load times. Faster loading speeds enhance user satisfaction. Statistics show that 47% of users expect a web page to load in two seconds or less. A CDN can lower load times substantially, which can lead to improved SEO rankings. Higher rankings attract more visitors, further boosting website traffic. A reliable CDN can also handle high traffic spikes effortlessly, ensuring that performance remains steady during peak periods.Enhanced Security Features
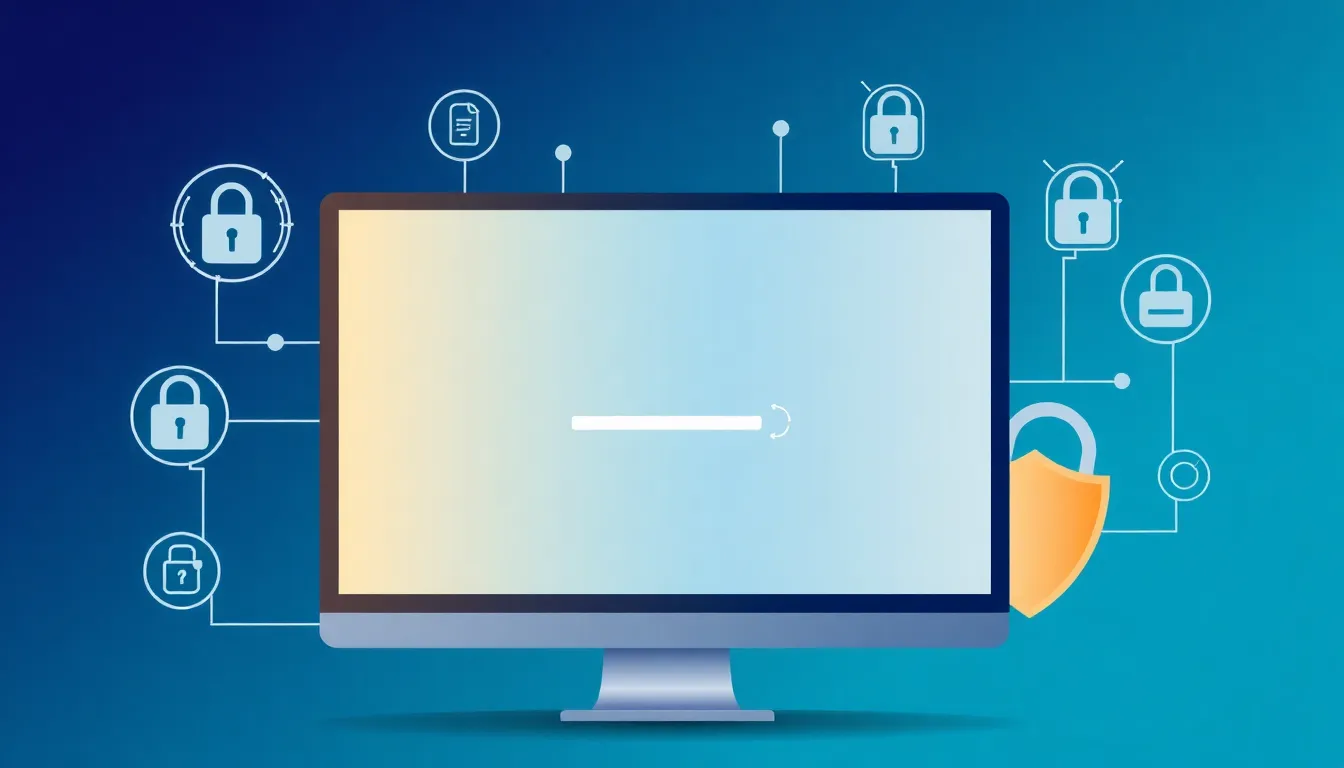
Security features offered by a WordPress CDN reduce the risk of cyber threats. DDoS protection safeguards websites against malicious attacks. Additionally, many CDNs provide SSL certificates, strengthening data encryption during transfers. Secure user data builds trust and improves credibility. A CDN’s distributed architecture also minimizes the chances of downtime caused by attacks, keeping sites operational. Obtaining these security measures through a CDN simplifies management, freeing up time for website owners to focus on content and strategy. Overall, enhanced security measures ensure a safer online environment for both users and site owners.Popular WordPress CDN Providers
Various WordPress CDN providers offer unique features tailored to optimize website performance. This section highlights key features and pricing structures to assist in choosing the right service.Comparison of Features
Cloudflare stands out for its robust security options, including DDoS protection, which helps prevent attacks. StackPath offers advanced caching capabilities, enhancing load times for static assets. KeyCDN emphasizes simplicity with an intuitive user interface, making it easy for users to manage settings. Amazon CloudFront integrates seamlessly with AWS services, providing extensive scalability. BunnyCDN offers competitive pricing along with a straightforward setup process, attracting many users. Each provider presents distinct advantages that cater to different website needs and performance goals.Pricing Structure
Cloudflare’s free plan delivers strong baseline features, making it accessible for small businesses. StackPath pricing starts at $10 per month, appealing to users who require advanced functionalities. KeyCDN offers a pay-as-you-go model, which allows users to pay only for what they use, providing cost efficiency. Amazon CloudFront uses a tiered pricing structure based on data transfer, making it suitable for large-scale enterprises. BunnyCDN features competitive rates, starting as low as $1 per month, capturing attention for budget-conscious website owners. Understanding the pricing structures aids in selecting a solution that aligns with specific budgetary constraints and performance expectations.How to Set Up a WordPress CDN
Setting up a WordPress CDN significantly boosts website performance. Follow these steps for a seamless installation.Step-by-Step Installation Guide
-
- Choose a CDN provider. Select a service like Cloudflare or StackPath based on features and pricing.
-
- Create an account. Sign up on the provider’s website to access the dashboard.
-
- Add your website. Enter your URL when prompted to connect your CDN to your WordPress site.
-
- Update DNS settings. Change your DNS records as instructed by the CDN provider. This action directs traffic to the CDN.
-
- Install a CDN plugin. Use a plugin like WP Rocket or CDN Enabler to facilitate the integration.
-
- Configure the plugin. Enter your CDN URL in the plugin settings to complete the setup.
Common Configuration Settings
Adjusting certain settings optimizes dependencies and enhances performance.-
- Caching. Enable caching for static files like images and scripts to improve load times.
-
- File types. Specify which file types to cache. Common choices include CSS, JavaScript, and JPG or PNG images.
-
- SSL configuration. Activate SSL support to ensure HTTPS delivery for secure connections.
-
- Purge cache. Regularly purge the cache or configure automatic purging. This action ensures fresh content delivery.
-
- Error handling. Set up custom error pages. Providing user-friendly messages helps maintain engagement during issues.
-
- Geographical settings. Choose to enable global or regional content delivery. This option enhances user experiences based on location.